


Preface
When I first started my journey in crypto, I was first of all introduced to MetaMask. I was told by my friends that this was a necessity and I needed this cute fox before I could do anything crypto-related. However, what exactly is MetaMask and why do we need it?
What is MetaMask?
MetaMask is a non-custodial wallet that can be accessed from your browser and mobile phone. It allows you to store, transfer and trade your crypto assets. It is completely free to use and all you need to do (if you are on a computer) is to download the MetaMask extension. If you are on your phone, you can download it from the App/Google Play store.
Why do we need MetaMask?
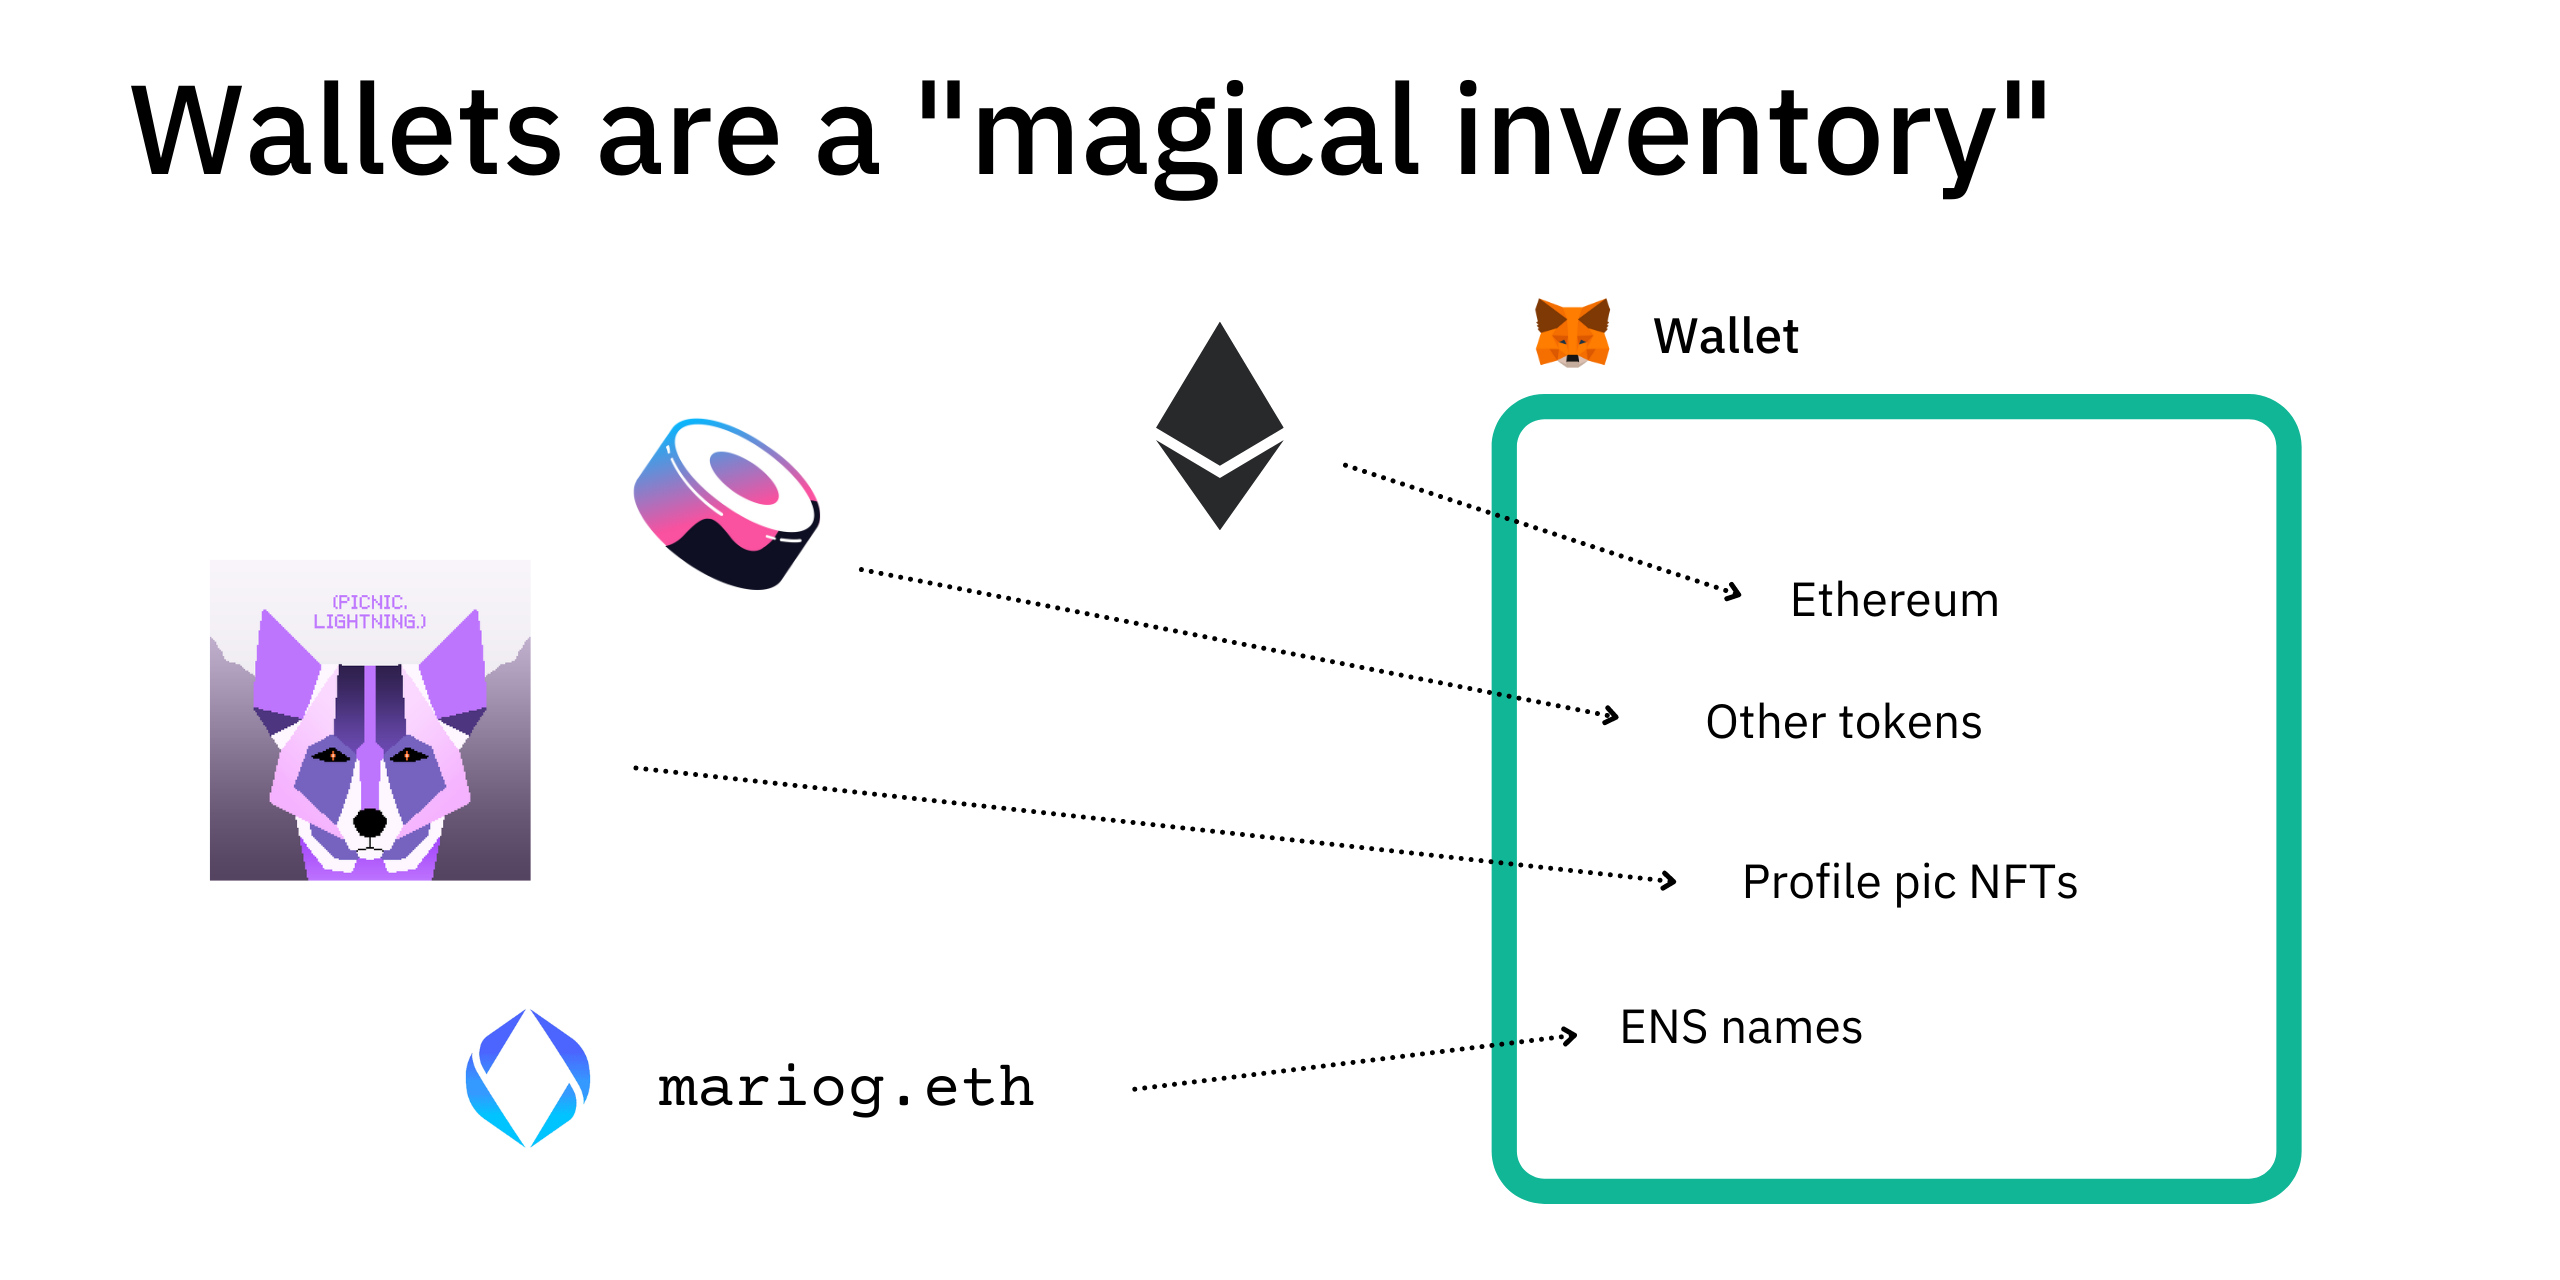
For context, MetaMask has 30 million users worldwide and is by far the most popular crypto wallet right now. This is because MetaMask is the primary gateway into most blockchain apps and without it, users would not be able to perform 5 core functions:
Storage - Users can see the assets they’re holding.
Transfers - Users are able to transfer assets to others or move them within their own accounts.
Purchases - Users can use Metamask to interact with blockchain apps to buy crypto assets.
Swaps - Users can use Metamask to swap tokens via other exchanges.
Verification - When users perform a transaction using MetaMask, they are prompted to “sign” to confirm and verify their transaction.
Setting Up MetaMask
Setting up MetaMask is relatively simple, so let’s run through it.
Click on the button below to jump straight to MetaMask’s Chrome extension download page
Click “Add to Chrome”.

On the pop-up, click “Add extension”.

After adding MetaMask Extension, MetaMask will automatically open. You can also make sure it's easily accessible in your toolbar by pinning it.
Click on the “Get Started” button.

Click the “Create a Wallet” button.

You can choose to agree to allow for the collection of data or you can decline. The wallet can still be created even if you click on “No Thanks”.

Create a password for your wallet. This password is to be entered every time the browser is launched and you want to use MetaMask.

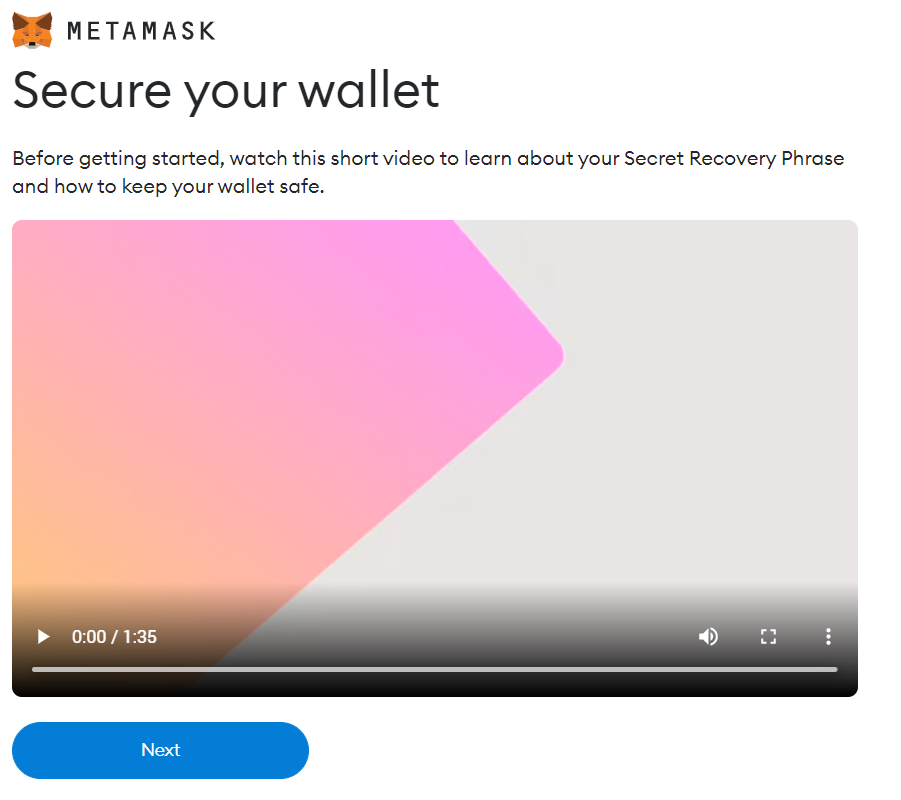
Watch the video to learn about your Secret Recovery Phase and how to keep your wallet safe. Once done, click “Next”.
Reveal your Secret Recovery Phase. Back up your secret phrase. Do not store your secret phrase on your computer. The secret phrase is the only way to access your wallet if you forget your password. Once done click the “Next” button.

Enter your Secret Recovery Phrase in order, just like how you saw it when you revealed it in the previous step. If done correctly the “Confirm” button will turn blue.

Congratulations! Your MetaMask wallet is now successfully set up. Please follow the tips mentioned.


Below shows all the features of MetaMask.
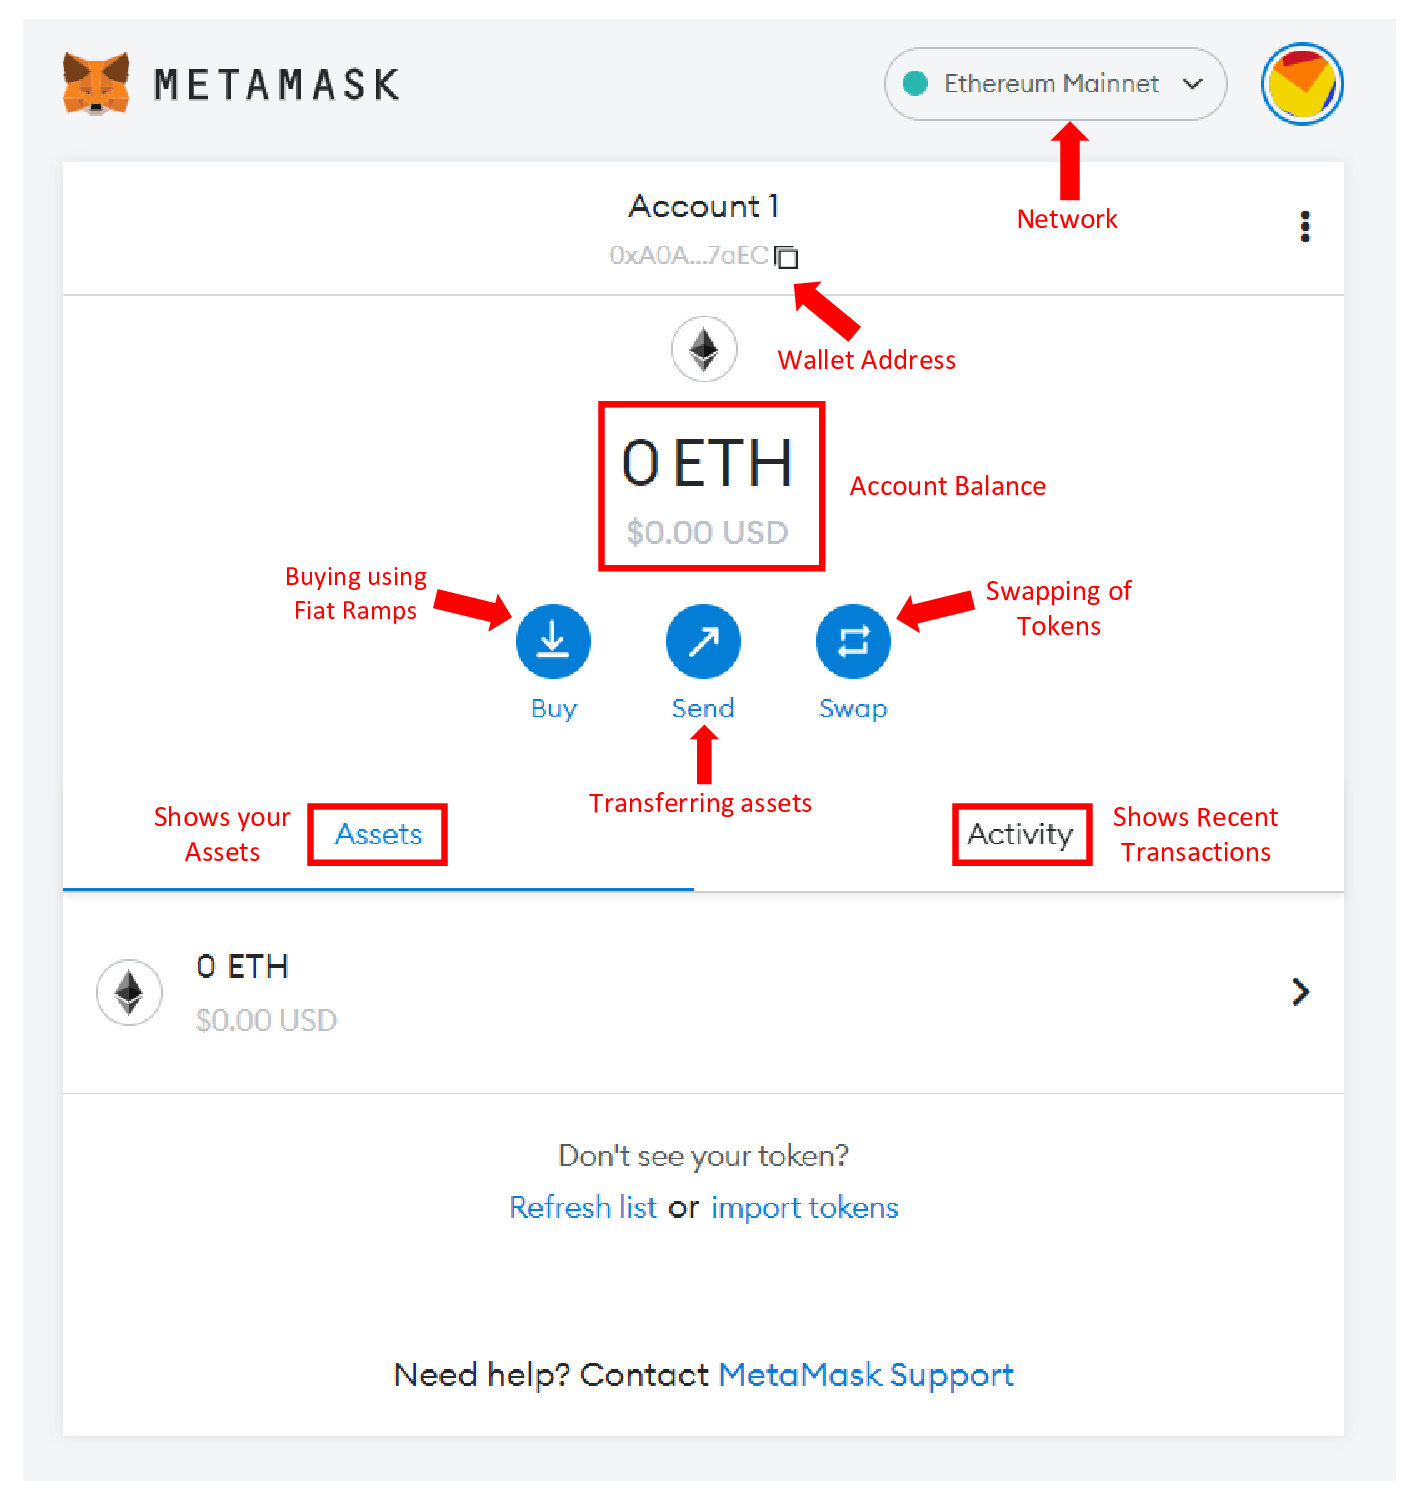
You can access MetaMask in the browser by clicking the Foxface icon on the top right.

How to add a Network
Most of you probably know about Ethereum, however, did you know that there are thousands of chains in crypto? This includes popular chains such as Binance Smart Chain (BSC) and Avalanche (AVAX).
In order to access these chains using your MetaMask wallet, you need to first add them as custom networks into your MetaMask.
Let’s use the Binance Smart Chain as an example.
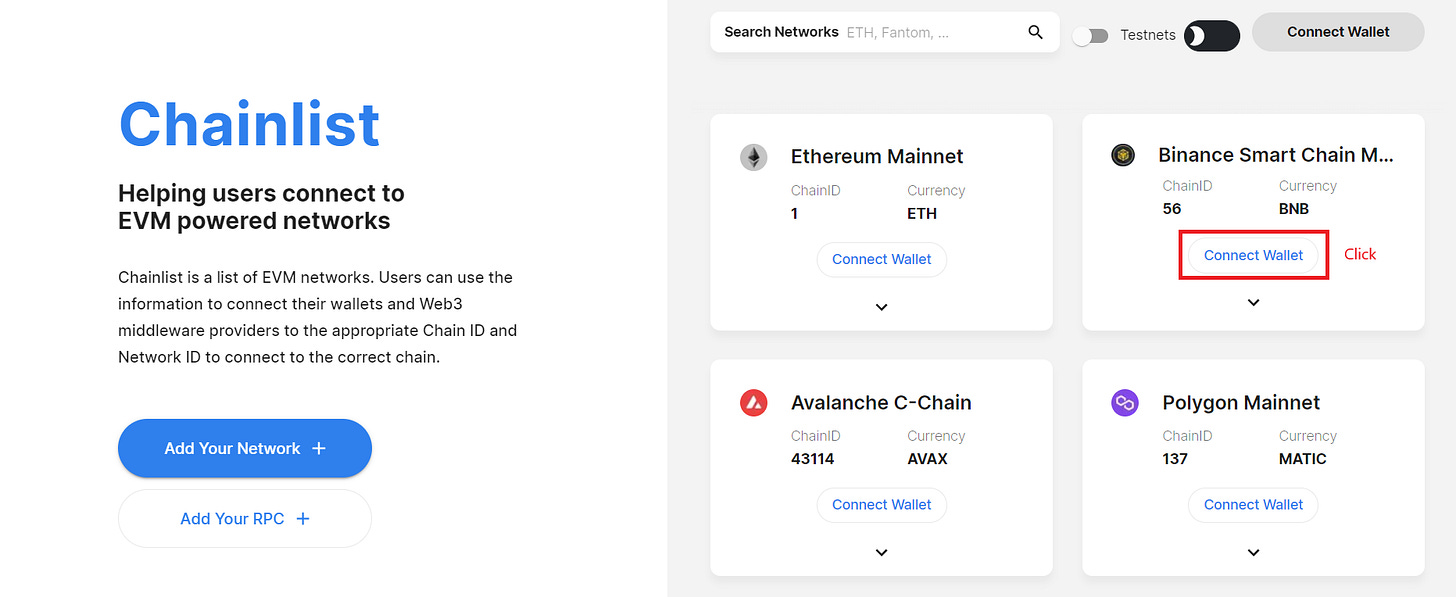
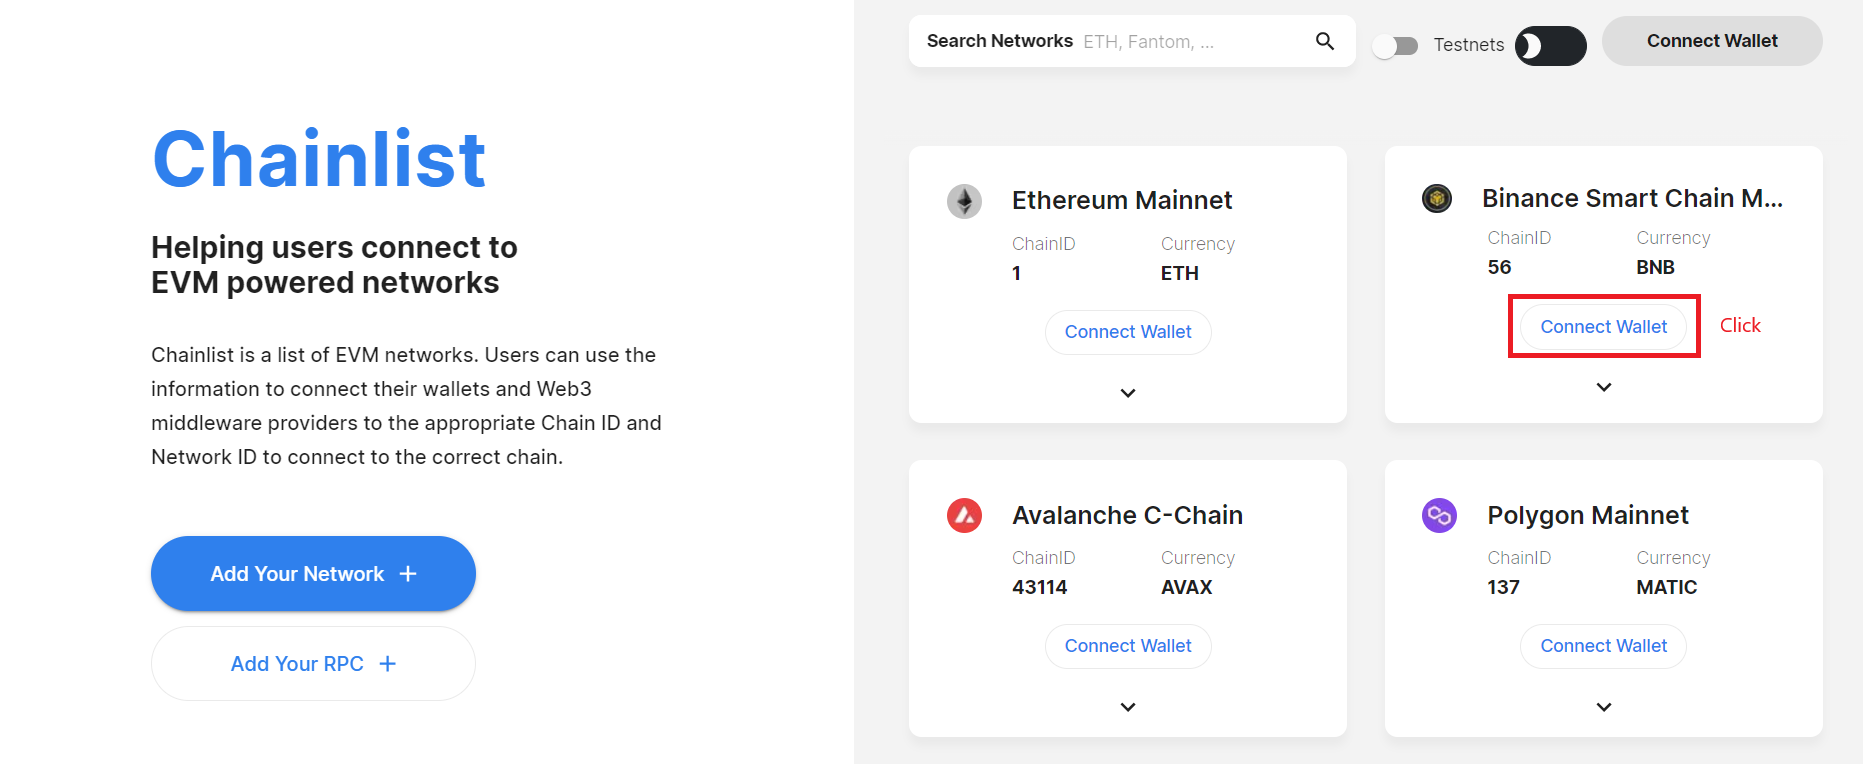
Go to https://chainlist.org/
Chainlist is a place that allows users to easily add networks to their MetaMask wallet.
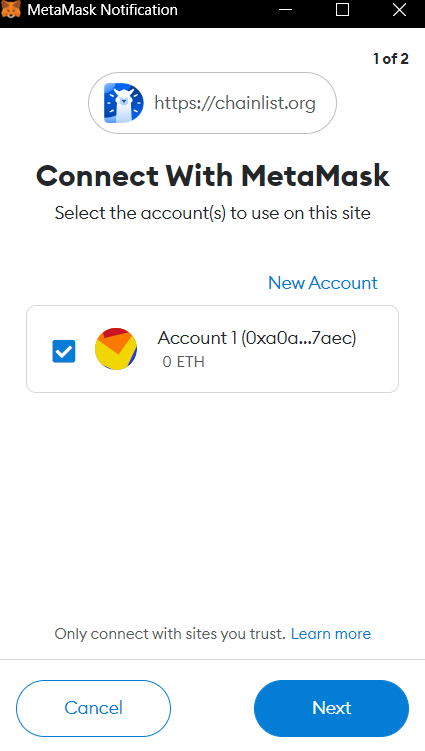
Click on “Connect” under the BSC section.
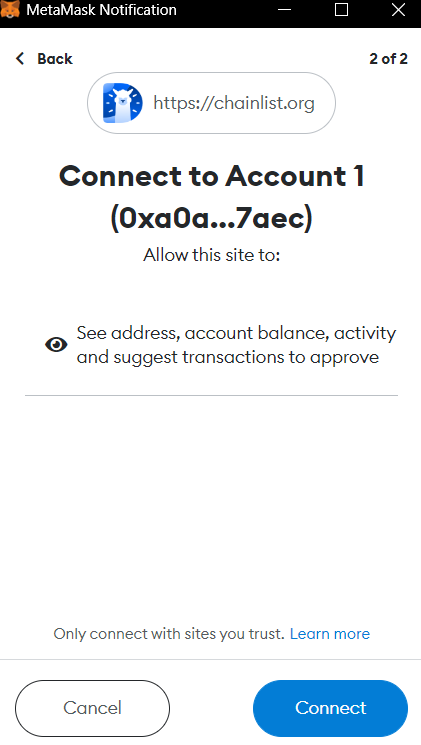
You will be prompted to connect. Click “Next” and “Connect” after that.


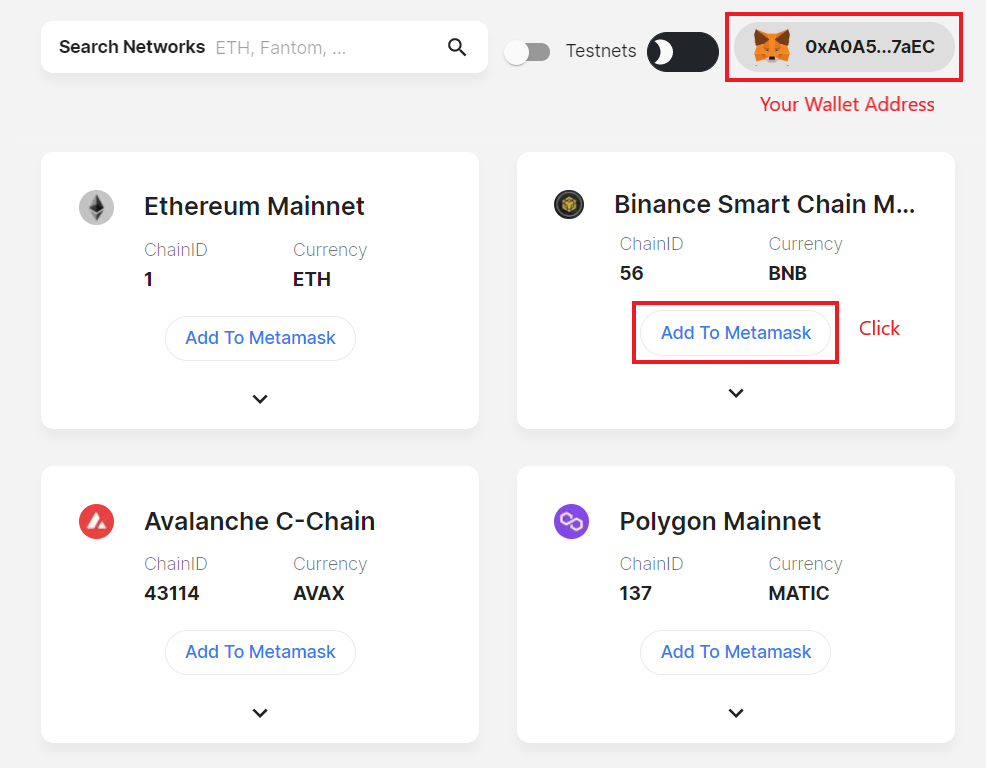
Your wallet is now connected to Chainlist. Now click “Add to Metamask” under the BSC section.
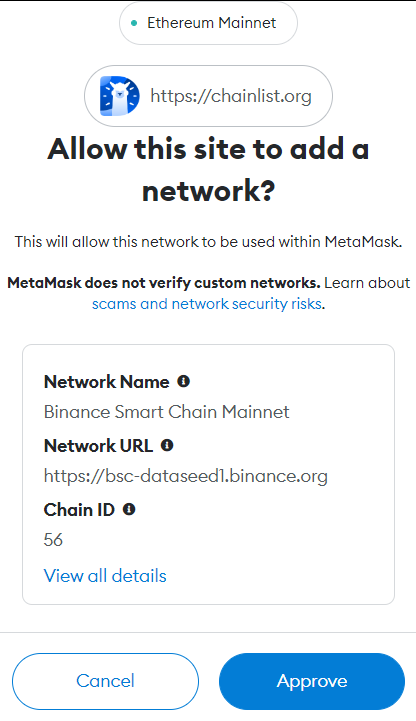
You will be prompted to approve. Click “Approve”.
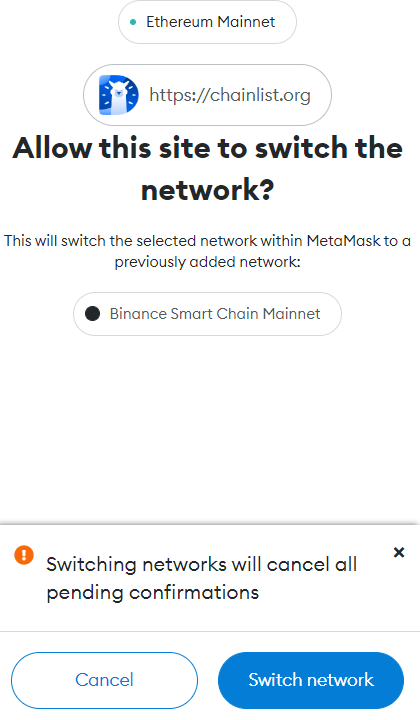
Next, you will be prompted to switch networks. Click “Switch Network”.
Click on your MetaMask browser extension to check if you have successfully added the network. It will look like this:


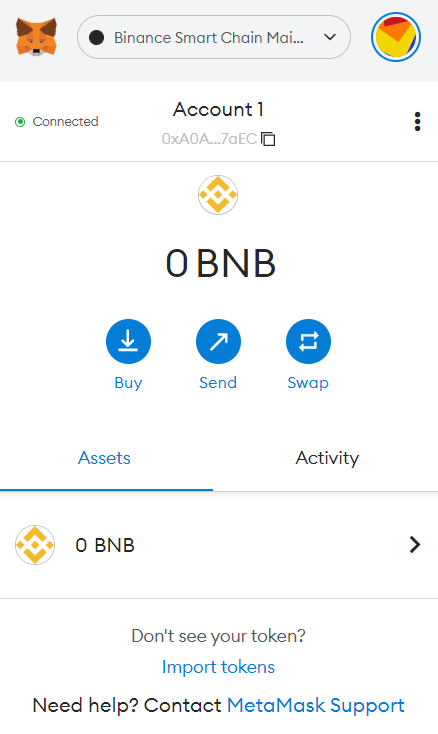
Congratulations, you have successfully added the BSC network to your wallet! If you want to add more networks in the future, all you need to do is to find the desired network on Chainlist.
Now all you need to do is to get cryptocurrencies by either buying on Centralized Exchanges (CEXs) and withdrawing to your MetaMask wallet or buying from on-ramps, such as Transak.
Disadvantages
While MetaMask is hugely popular, it still has some disadvantages.
It is an online browser extension. While Metamask does not have access to your information, the browser you’re in probably has. As such, it is more prone to hacks.
Recommendation: Get a cold wallet - Ledger.
Users need to manually add networks and tokens.
Closing Thoughts
MetaMask will be the main gateway into Decentralized Apps (dApps) for a long time. There are a lot of other wallets out there but MetaMask is still seen as the king of all wallets due to its household status. Hopefully, this tutorial has helped you to set up your MetaMask and if you have a question about the process don’t hesitate to leave a comment below!
Remember, never ever share your secret recovery phrase with ANYONE!
See you guys in the next tutorial!